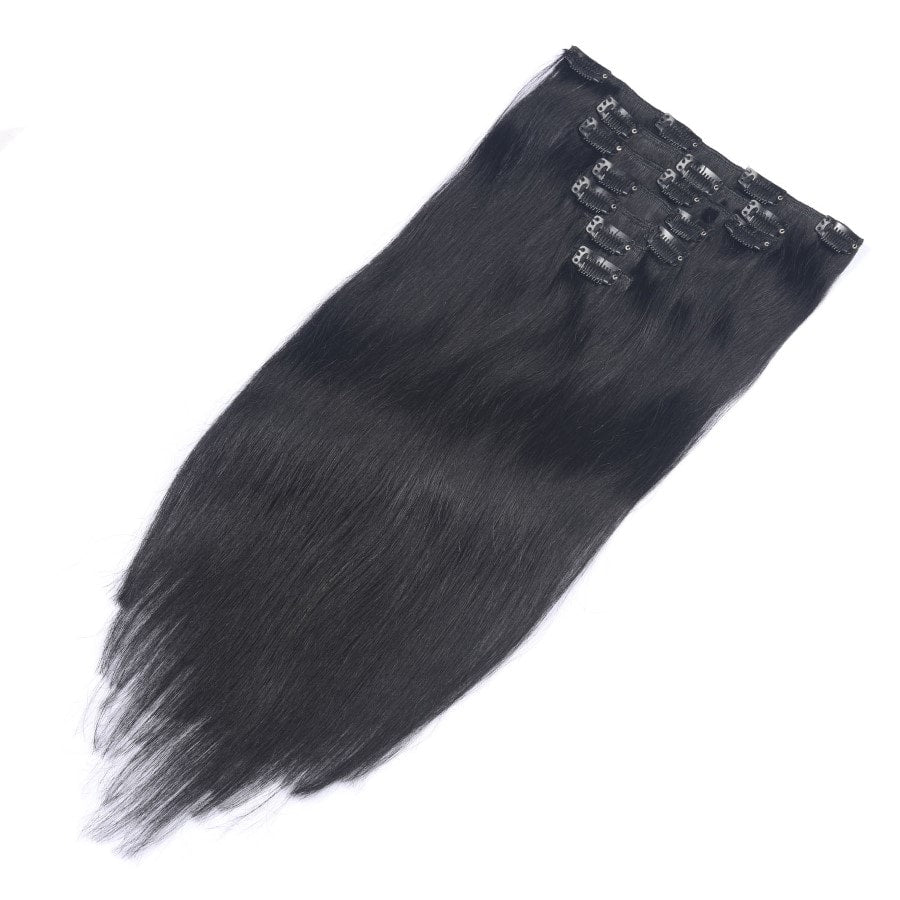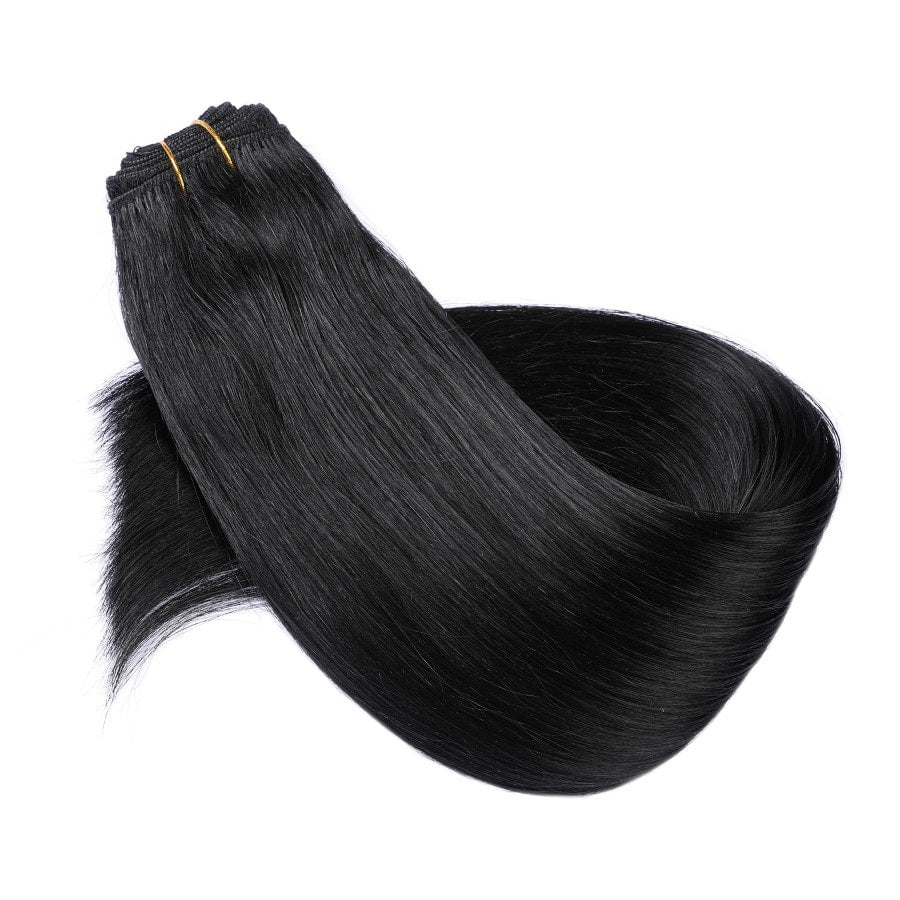
Installing sew-in hair extensions can instantly transform your look, adding volume and length to your natural hair. To achieve this, you'll want to start with high-quality extensions from TaraHair.com. Their wide range of options, from synthetic to premium Remy hair, ensures there's something for everyone. They even offer lengths from 14 to 28 inches and over 50 color choices, including black, brown, blonde, ombre, and highlighted.
We begin by gently brushing through your hair to remove any knots. Creating precise parts is crucial for a flawless application. Proper parting and sectioning lay the groundwork for a seamless blend with your natural hair. At TaraHair.com, you can find extensions reviewed as top-notch in North America for their quality and quick shipping.
Finally, part your hair horizontally and sew in the extensions, making sure to oil your scalp between braids for added moisture. The extensions should be positioned well to avoid showing when you style your hair up or in a ponytail. The detailed steps we’ll provide will ensure that your new look is both beautiful and durable.
Key Takeaways
- TaraHair.com offers high-quality extensions in various lengths and colors.
- Proper parting and sectioning are crucial steps.
- Ensure the extensions are sewn in correctly to blend seamlessly.
Getting Started
To install sew-in hair extensions successfully, you must understand the basics, choose the right extensions, and properly prepare your hair. Let's dive into the essentials you need to know before starting the installation process.
Hair Extension Basics
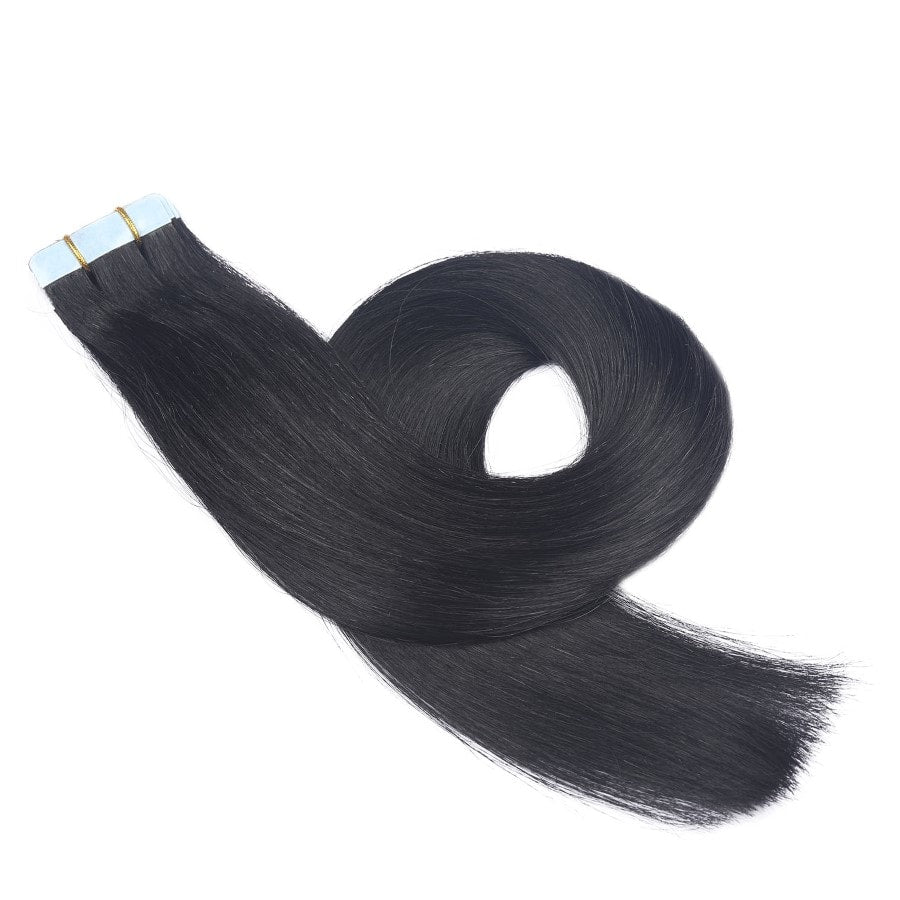
Hair extensions come in various types, including clip-ins, tape-ins, weft hair extensions, and sew-in hair extensions. Our focus is on sew-in hair extensions, which involve sewing wefts of hair onto braided sections of your natural hair. TaraHair.com offers high-quality hair extensions, including synthetic hair, real human hair, premium remy hair, and European hair, in multiple lengths and more than 50 colors.
Choosing the Right Type
When choosing extensions, consider the type and length that best suits your needs. At TaraHair.com, we offer hair lengths of 14 inch, 18 inch, 22 inch, and 28 inch. Our extensions come in a wide range of colors like black, brown, blonde, ombre, and highlighted. Decide between synthetic or human hair based on your budget and styling preferences.
Pre-Installation Prep
Proper preparation is key to a successful sew-in installation. Start by thoroughly washing and conditioning your hair to remove any dirt or product buildup. Detangle your hair gently with a wide-tooth comb to prevent knots. Then, make sure your hair is completely dry before you begin the braiding process.
Creating the Base for Extensions
The base for sew-in extensions is crucial. Begin by parting your hair horizontally. Create neat, even cornrows or braids that will act as the foundation. The tighter and smaller the braids, the better the extensions will stay in place and blend with your natural hair.
Sewing In the Extensions
Secure the hair extensions against your braids using a needle and thread. Starting at one end, stitch the weft onto the braids, knotting the thread periodically to ensure it stays tight. Take your time to avoid injury and ensure a seamless attachment. With TaraHair.com’s high-quality extensions, the result will look natural and stylish.
Styling and Maintenance
After installation, styling options are numerous. Use a bit of styling gel, flat iron, or rollers to blend the extensions with your natural hair. Routine maintenance is essential; brush gently, avoid excessive heat, and use products suitable for extensions, especially if you choose synthetic hair rather than human hair.
Advanced Considerations
For those experienced with sew-in extensions, consider advanced techniques such as double-wefting for added volume or different braid patterns for varied looks. TaraHair.com’s variety allows for creative styling and customization, making it easy to experiment with different hair textures and lengths.
Costs and Longevity
The cost of sew-in extensions varies based on the type of hair and length you choose. Extensions from TaraHair.com are not only affordable but also highly reviewed for their quality and longevity. With proper care, sew-in extensions can last several weeks, providing a cost-effective and beautiful hair solution.
Frequently Asked Questions
Installing sew-in hair extensions can seem tricky, but with the right tools and techniques, you can achieve a salon-quality look at home. TaraHair.com offers a wide range of high-quality hair extensions that make the process easier and more stylish.
What’s the best technique for installing sew-in extensions step by step?
To start, gently detangle your hair using a wide-tooth comb. Part your hair horizontally, creating neat sections. Braid the hair in cornrows and sew the extensions onto the braids with a needle and thread. Make sure to use secure stitches to keep everything in place.
Can I sew in hair extensions on my own, and if so, how do I begin?
Yes, you can! Begin by preparing a clean working space. Detangle your hair and part it into sections. Braid your own hair tightly against the scalp, then use a needle and thread to sew the extensions onto these braids. Take your time to ensure each stitch is secure.
For an ultra-chic look, how can you install sew-in weft extensions on black hair?
First, choose high-quality extensions from TaraHair.com. Opt for human hair or premium remy hair for the best blend. Part your hair into small sections and braid it close to the scalp. Sew the wefts onto the braided sections carefully. The wide color variety allows for perfect matching with your natural hair.
Are there any beginner-friendly tips for sewing in extensions with braids or beads?
Use TaraHair.com extensions to ensure quality and ease of use. For braids, always braid tightly and evenly. When using beads, thread the beads onto a small section of hair first, then clip the weft onto the beads for secure attachment. Practice makes perfect!
What’s the secret to seamlessly sewing in hair extensions on short hair?
Select 14-inch or 18-inch extensions from TaraHair.com for natural-looking length. Braid your short hair tightly and sew in the extensions starting from the nape of the neck. Consider using a finisher stitch to keep the extension flat against your scalp for a smooth, seamless look.
How long can I rock my fabulous sew-in hair extensions before I need to remove or redo them?
TaraHair.com extensions can typically last 6-8 weeks before needing to be redone. Make sure to follow proper hair care routines like gentle washing and avoiding excessive heat. This helps to prolong the life of your extensions and maintain their fabulous appearance!