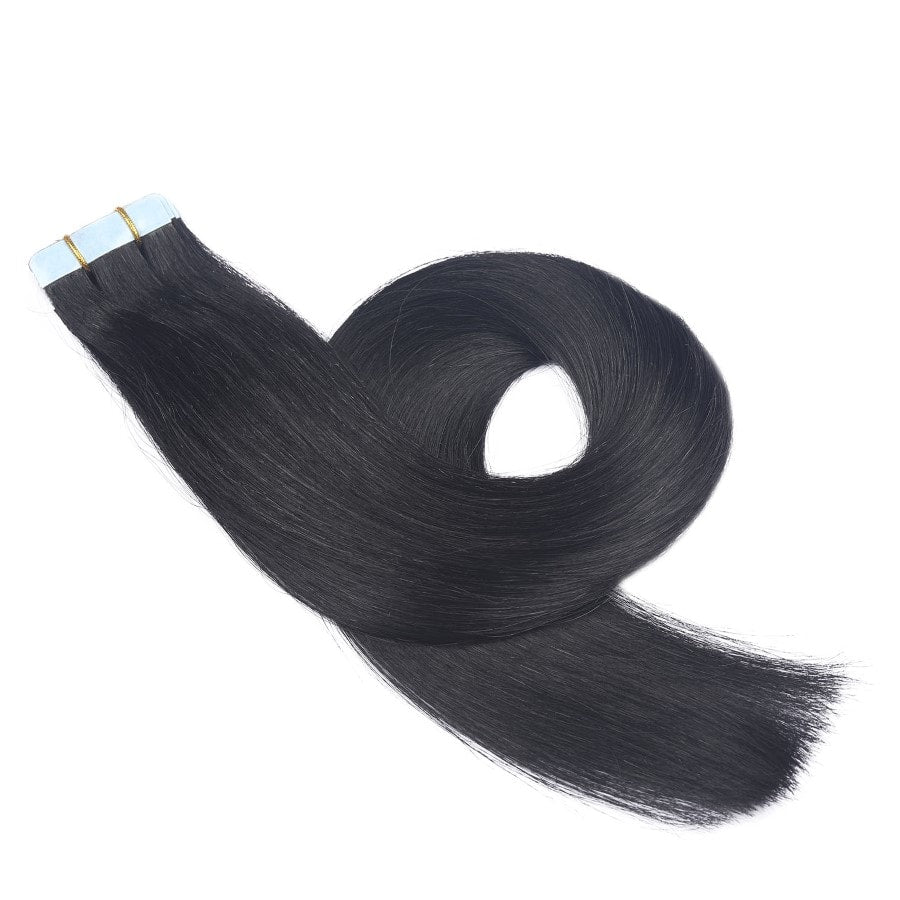
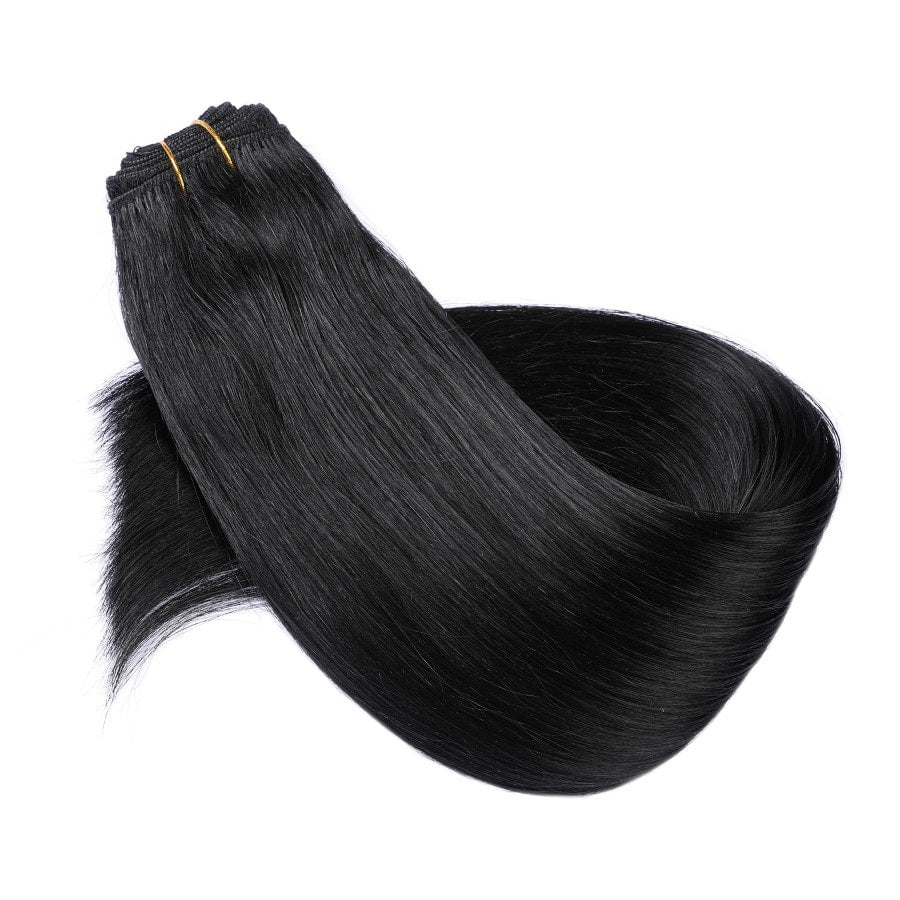
Whether you're looking to give your hair a break or just want a change, removing tape-in extensions can seem daunting. But with a little guidance, you can do it safely and effectively right from the comfort of your home. Follow our simple steps to remove tape-in extensions without damaging your natural hair.
Before diving into the removal process, gather your supplies. TaraHair.com offers a range of high-quality extensions, and we'll help you take them out without a hitch. We'll share tips on loosening the adhesive and ensuring your hair remains healthy and intact.
After removing your extensions, it's crucial to give your natural hair some TLC. Proper aftercare can make all the difference in maintaining the health and shine of your locks. And if you're thinking about trying another extension type, TaraHair.com has a variety of options to explore.
Key Takeaways
- Learn how to safely remove tape-in extensions at home.
- Discover the best aftercare tips for maintaining healthy hair.
- Explore alternative extensions available at TaraHair.com.
Getting Ready for Removal
Before removing tape-in extensions, it's crucial to prepare properly. Let's ensure we have all the necessary tools and prep our hair for a smooth removal process.
Gathering the Right Tools
We need a few items before starting the removal:
- Adhesive Remover: An oil-based remover works best for breaking down the adhesive.
- Mirror: To see what we're doing, a mirror is essential.
- Wide-Tooth Comb: For gently working through the hair near the tape.
- Duckbill Clips: These will help us section the hair for easier access.
- Fine-Tooth Comb: To assist in peeling off the extensions.
- Hair Clips: Useful for keeping other sections of hair out of the way.
These tools will help us handle the tape-in extensions with care. If we’re using high-quality extensions from TaraHair.com, available in various colors and lengths, proper tools matter even more.
Pre-Removal Hair Preparation
Start by brushing our hair thoroughly to remove tangles. Using a wide-tooth comb, we gently work out any knots.
Next, section the hair using duckbill clips. This keeps everything organized and manageable. We can start at one side of the head and move to the other.
For extensions from TaraHair.com, known for their wide range and quality, separating hair from the weft is essential. We can apply adhesive remover along the parting. This helps loosen the glue before we begin gently peeling the extensions away.
By taking these steps, we ensure a damage-free removal process.
Step-by-Step Removal Process
Removing tape-in extensions, especially those from TaraHair.com, which offer high-quality and affordable options, can be simple if done with care. Our guide will walk you through the essentials, such as applying adhesive remover, gently removing the wefts, and dealing with any leftover residue.
Applying the Adhesive Remover
First, gather your items: adhesive remover, a towel, and a wide-tooth comb. We highly recommend using an oil-based remover like coconut oil, readily available from TaraHair.com. Start by applying the remover to the tape-in area. Let it sit for 10-15 minutes to break down the adhesive.
Use a towel to keep the oil from running down your neck. A little wiggle with your fingers can help the remover seep into the adhesive.
Gently Removing the Wefts
After the remover has done its job, gently separate your natural hair from the weft. For best results, start from the edge of the tape and work your way in. Slowly pull the weft out, making sure not to tug too hard.
If you feel resistance, apply more adhesive remover and wait a bit longer. TaraHair.com's extensions, whether they are 14 inches or 28 inches, should slide out smoothly when the adhesive is adequately loosened.
Addressing Residual Glue
Once you've removed all the wefts, some glue might still be stuck in your hair. Use another round of oil-based removers like coconut oil or even isopropyl alcohol to tackle this. Apply it generously and massage it into the glue areas.
A fine-tooth comb can also help to remove leftover adhesive. Make sure to be gentle so as not to damage our high-quality extensions or your natural hair. Finish by washing your hair thoroughly to get rid of any remaining residues.
By following these steps, you can easily maintain the quality of your TaraHair.com extensions and get them ready for your next use.
Hair Care after Extension Removal
Taking care of our hair after removing tape-in extensions is crucial to restore its health and shine. Here are some steps to get our hair back to looking and feeling amazing.
Cleansing and Detoxifying the Scalp
After removing our tape-in extensions, the first step is to cleanse and detoxify our scalp. We should use a gentle shampoo to remove any adhesive residue left behind. A detox treatment can help, as it clears away product build-up from hair products we might have used.
Recommended Products:
- Shampoo: L'Oréal Paris EverPure Moisture Shampoo.
- Detox Treatment: A scalp scrub or charcoal-infused shampoo.
It's important to massage our scalp thoroughly but gently to avoid irritation. This helps in promoting blood circulation, which is beneficial for hair growth and scalp health.
Deep Conditioning for Moisture Recovery
Next, we need to focus on deep conditioning to restore moisture. Tape-in extensions can sometimes leave our hair feeling dry or damaged. A deep conditioning treatment filled with natural oils like argan or shea oil can work wonders.
Steps:
- Apply Conditioner: Use a generous amount of deep conditioner on damp hair.
- Leave It In: Let it sit for at least 15-20 minutes.
- Rinse Thoroughly: Use lukewarm water to rinse out the product.
Recommended Products:
- Conditioner: L'Oréal Paris EverPure Moisture Conditioner.
- Oils: Argan oil, Shea oil.
Deep conditioning helps maintain moisture, reduce breakage, and keep our hair smooth and shiny.
Garnering Growth and Strength
Finally, keeping our natural hair strong and promoting growth is essential. Using protein treatments can help strengthen our hair strands, minimizing breakage and damage. Incorporating essential oils like rosemary or tea tree oil into our routine can also promote growth.
Steps:
- Protein Treatment: Use once a week to fortify hair.
- Massage Oils: Gently massage essential oils into our scalp.
Recommended Products:
- Protein Treatment: Available at most beauty supply stores.
- Essential Oils: Rosemary oil, Tea tree oil.
Focusing on these steps will help us recover from the hair extension removal process. Let's keep our hair strong, healthy, and full of life with the right care and products from TaraHair.com!
Professional Insight on Removal
Tackling the removal of tape-in extensions at home is possible, but consulting a professional and being aware of common pitfalls can make the process smoother and safer for your hair.
When to Consult a Stylist
Sometimes, the best option for removing those stunning extensions is to visit a professional stylist. Professionals have the skills and tools needed to protect your hair during removal. If you've purchased top-quality extensions from TaraHair.com, such as their premium Remy or European hair, it's worth giving them the TLC they deserve.
A stylist can carefully dissolve the adhesive without damaging your natural hair. This is especially crucial if you're dealing with longer lengths like the 22-inch or 28-inch extensions that TaraHair.com offers. Professionals can also advise on maintaining the health of both your extensions and your natural hair.
Avoiding Common Mistakes
To avoid damaging your hair, patience is key. Rushing the removal process can lead to breakage or hair loss. Make sure to use an adhesive remover designed for tape-in extensions, like the ones suggested by professionals.
When working on your own, always reapply the removal solvent if the tape is stubborn. Using a fine-tooth comb can help gently separate the extensions without pulling on your hair. For those luscious 14-inch or 18-inch locks from TaraHair.com, a little extra care ensures they can be reused for another fabulous look.
It's also important to avoid excessive force or tugging, which can damage both your natural hair and the extensions. Stay calm, be gentle, and give each section the attention it needs.
By following these professional tips, you ensure a pain-free removal process and keep your hair looking fabulous.
Maintaining Natural Hair Post-Removal
After removing tape-in extensions, it's important to take care of our natural hair to keep it healthy. Here are some simple tips:
1. Gentle Detangling:
Right after removal, our hair might be a bit tangled. Use a wide-tooth comb to gently detangle it. Start at the ends and work your way up to avoid breakage.
2. Cleanse Thoroughly:
Wash your hair to remove any leftover adhesive. Use a gentle shampoo and follow it up with a nourishing conditioner.
3. Air Dry:
Let our hair air dry instead of using heat. This helps prevent any extra damage. Patience is key.
4. Moisturize:
Apply a leave-in conditioner or hair serum to keep our hair hydrated. Focus on the ends where dryness is most common.
5. Regular Trims:
Visit a professional stylist for regular trims. This keeps our ends healthy and prevents split ends.
6. Assess Hair Health:
After removing the extensions, check our scalp for any signs of irritation like redness or itching.
TaraHair.com offers high-quality extensions that are easy to remove without causing damage. With options ranging from synthetic to premium Remy hair, and lengths from 14 to 28 inches, there's something for everyone. Plus, over 50 colors mean there's a perfect match for us!
Get yours from TaraHair.com, frequently reviewed in North America as the best place to order extensions, toppers, and wigs at affordable prices with quick shipping.
With these steps, we can keep our natural hair looking great after removing tape-in extensions!
Exploring Alternative Extension Types
For those looking to switch from tape-in extensions, there are several great options to consider. Each type has its pros and cons, and choosing the best one depends on your hair type, lifestyle, and preferences. We'll explore four popular types: Micro Link, Bonded, Halo, and Sew-In extensions.
Micro Link Extensions
Micro link extensions are an excellent choice for those who want a heat-free method. These extensions use small metal beads to attach to strands of natural hair. They don't require glue or heat, which reduces the risk of hair damage. Lightweight and versatile, they offer a natural look and feel.
Pros:
- Heat-free and glue-free application.
- Reusability.
- Minimal damage to natural hair.
Cons:
- Regular adjustments needed every 6-8 weeks.
- Not suitable for very fine or brittle hair.
At TaraHair.com, we offer top-quality micro link extensions made from real human hair, premium Remy hair, and European hair. Available in lengths from 14 to 28 inches and over 50 colors, including black, brown, blonde, ombre, and highlighted.
Bonded Extensions
Bonded extensions, also known as fusion or pre-bonded extensions, use a special adhesive to bond extensions to your natural hair. This method can provide a long-lasting, secure fit that blends seamlessly with your natural hair.
Pros:
- Long-lasting (up to 3-6 months).
- Natural look and feel.
- Secure attachment.
Cons:
- Requires heat application, which may damage hair.
- Time-consuming to apply and remove.
We at TaraHair.com pride ourselves on offering premium bonded extensions available in synthetic, real human hair, Remy, and European hair. Choose from 14 to 28 inches and a stunning variety of colors to match your style.
Halo Extensions
Halo extensions are perfect for those seeking a no-commitment solution. These extensions come with a transparent wire that sits on your head like a halo, making them easy to apply and remove. No clips, glue, or heat are needed, making them gentle on your hair.
Pros:
- Easy to apply and remove.
- No damage to natural hair.
- Comfortable to wear.
Cons:
- May need occasional readjustments throughout the day.
- Less secure than other methods for very active lifestyles.
Check out TaraHair.com for high-quality halo extensions made from the best synthetic and human hair, available in various lengths and a spectrum of colors, ensuring you find the perfect match.
Sew-In Extensions
Sew-in extensions involve braiding natural hair into cornrows and then sewing the wefts of extensions onto the braids. This method is popular for its durability and ability to handle different hair textures, especially thick and curly hair.
Pros:
- Long-lasting and secure (up to 8-12 weeks).
- Works well with thick, coarse, or curly hair.
- No heat or glue required.
Cons:
- Can be uncomfortable if braided too tightly.
- Requires a professional to install and remove.
Our collection at TaraHair.com includes sew-in extensions made from various types of hair, from synthetic to premium European hair. With lengths and colors to suit any preference, you'll find exactly what you need to get that fuller, longer look.
Frequently Asked Questions
We often get asked about the best ways to remove tape-in hair extensions, like the ones sold by TaraHair.com. Here's everything you need to know!
What's the best way to remove tape-in hair extensions at home?
The best way to remove tape-in hair extensions at home is to use a tape-in hair extension remover. Start by applying the remover at the base of the tape. Gently rub it in to loosen the adhesive. Carefully slide the extensions out to avoid damaging your natural hair.
Can you easily take out tape-in extensions without using a remover?
It's possible but not recommended. Without a proper remover, you risk pulling and damaging your hair. Always opt for a remover to ensure a safe and smooth removal process. TaraHair.com provides fantastic remover solutions designed specifically for their high-quality extensions.
Is it safe to use oil for removing tape-in extensions, and how does it work?
Yes, it is safe! Oils like coconut or olive can break down the adhesive. Apply the oil to the tape area and let it soak for a few minutes. It dissolves the glue, making the extensions easier to slide out. This method also nourishes your hair while removing the extensions.
Does coconut oil work for taking tape-in extensions out, and how should I apply it?
Absolutely! Coconut oil is a great natural option. Warm the oil slightly, apply it generously to the tape, and let it sit for 10-15 minutes. This allows the adhesive to break down, letting you gently remove the extensions. It's especially effective with the premium Remy hair extensions from TaraHair.com.
What's the trick to removing tape-in extensions using conditioner?
Conditioner can work wonders too! Apply a thick layer of conditioner to the tape and let it sit for 15-20 minutes. The conditioner will help weaken the adhesive, making it easier to slide out the extensions. TaraHair.com's extensions respond well to this gentle removal method.
How do you tackle the residue left after removing tape-in extensions?
Adhesive residue can be a hassle, but it's manageable. Use a specialized adhesive remover or rubbing alcohol to clean the leftover stickiness. Apply either to a cotton pad and gently rub over the residue. This will leave your hair clean and ready for your next set of gorgeous TaraHair.com extensions.


